
As is generally known Sigma Photo Pro (SPP) is not the fastest Raw converter available. Certain functions do take rather long to take effect which makes working on a bigger projects a daunting task. In addition I have found that the addition of new tools made it harder for me to get to results fast. In order to get through larger amounts of photos I developed a different workflow using Photomechanical and Lightroom in addition to SPP.
Step 1: Importing and sorting.
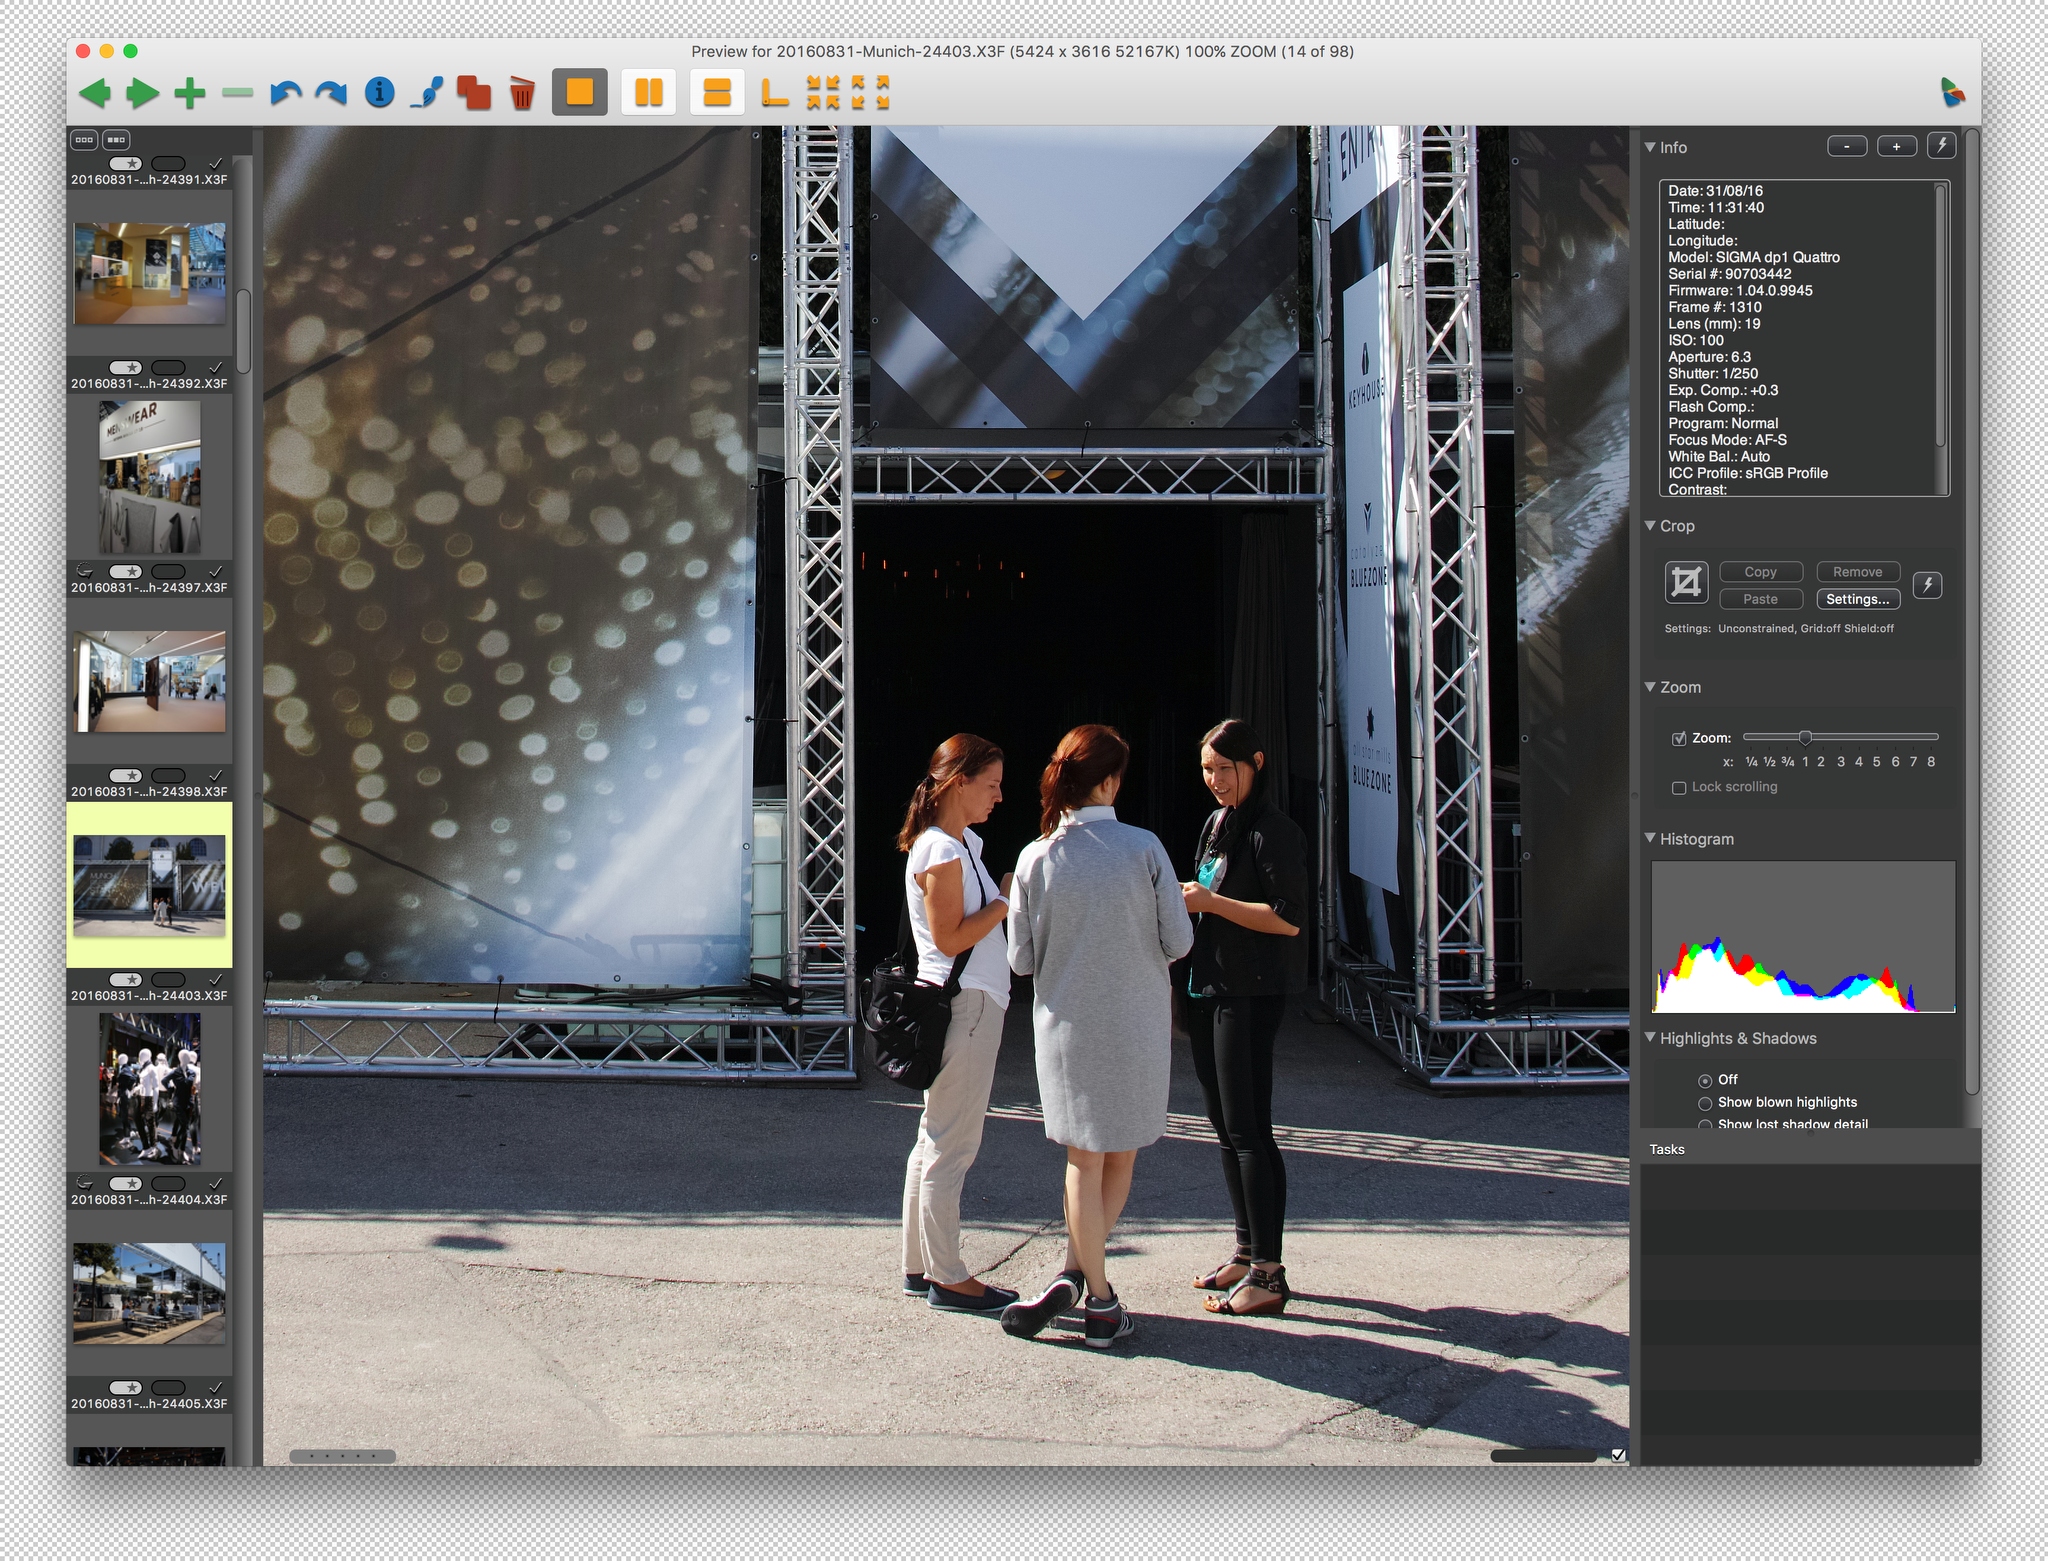
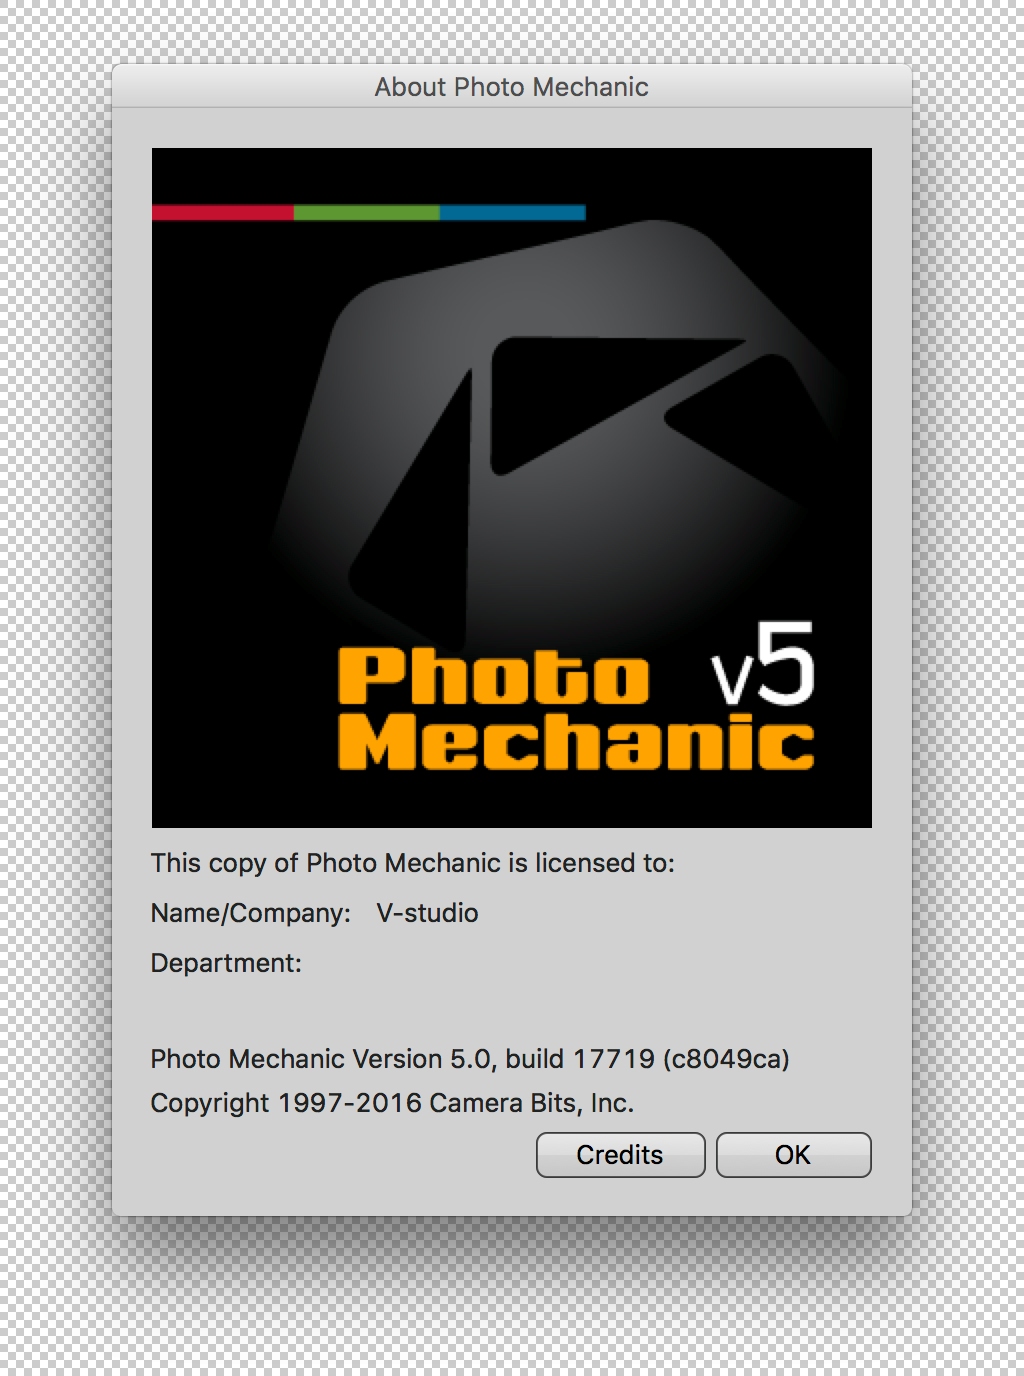
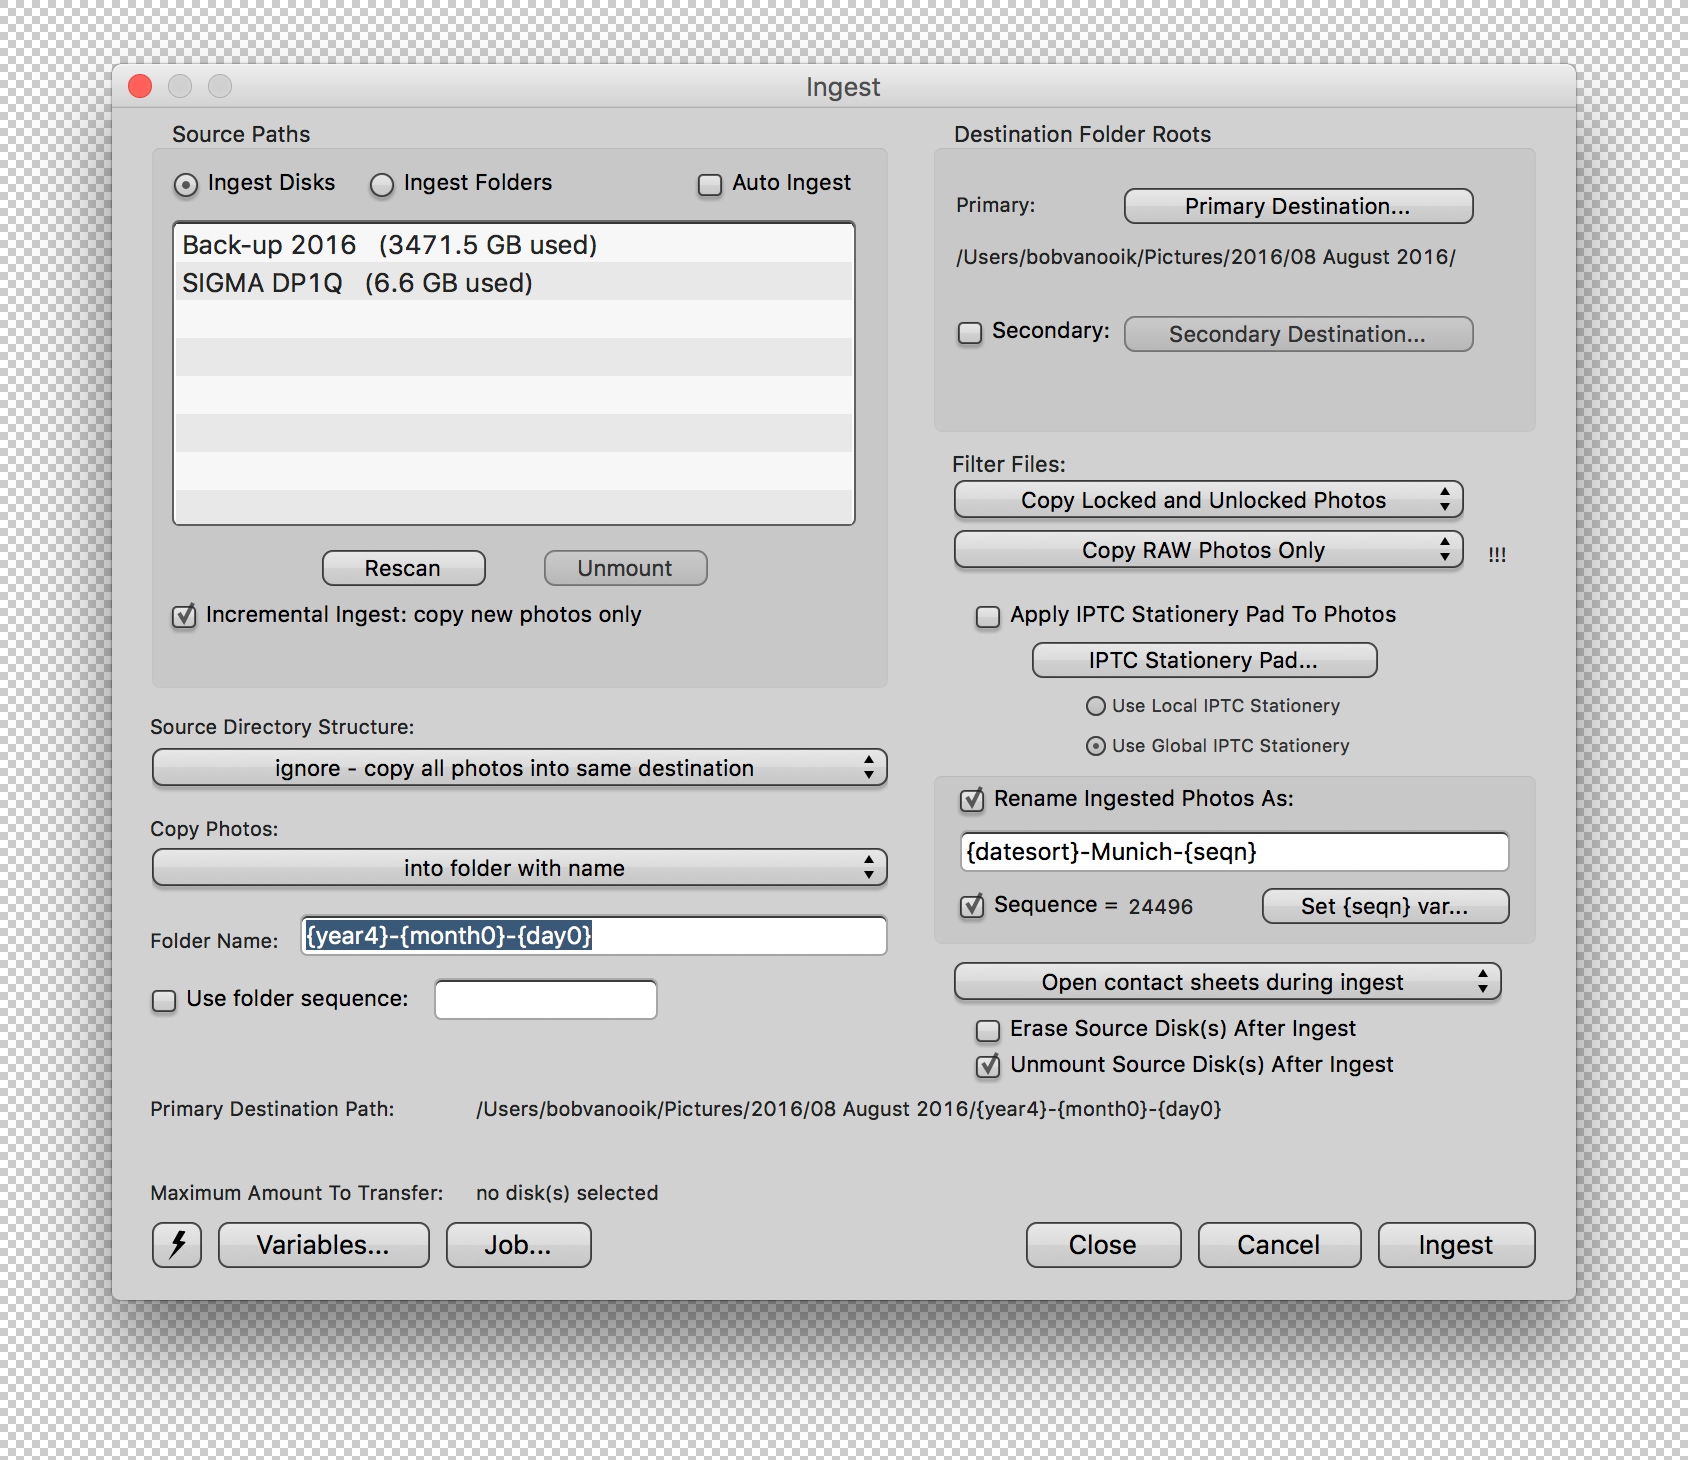
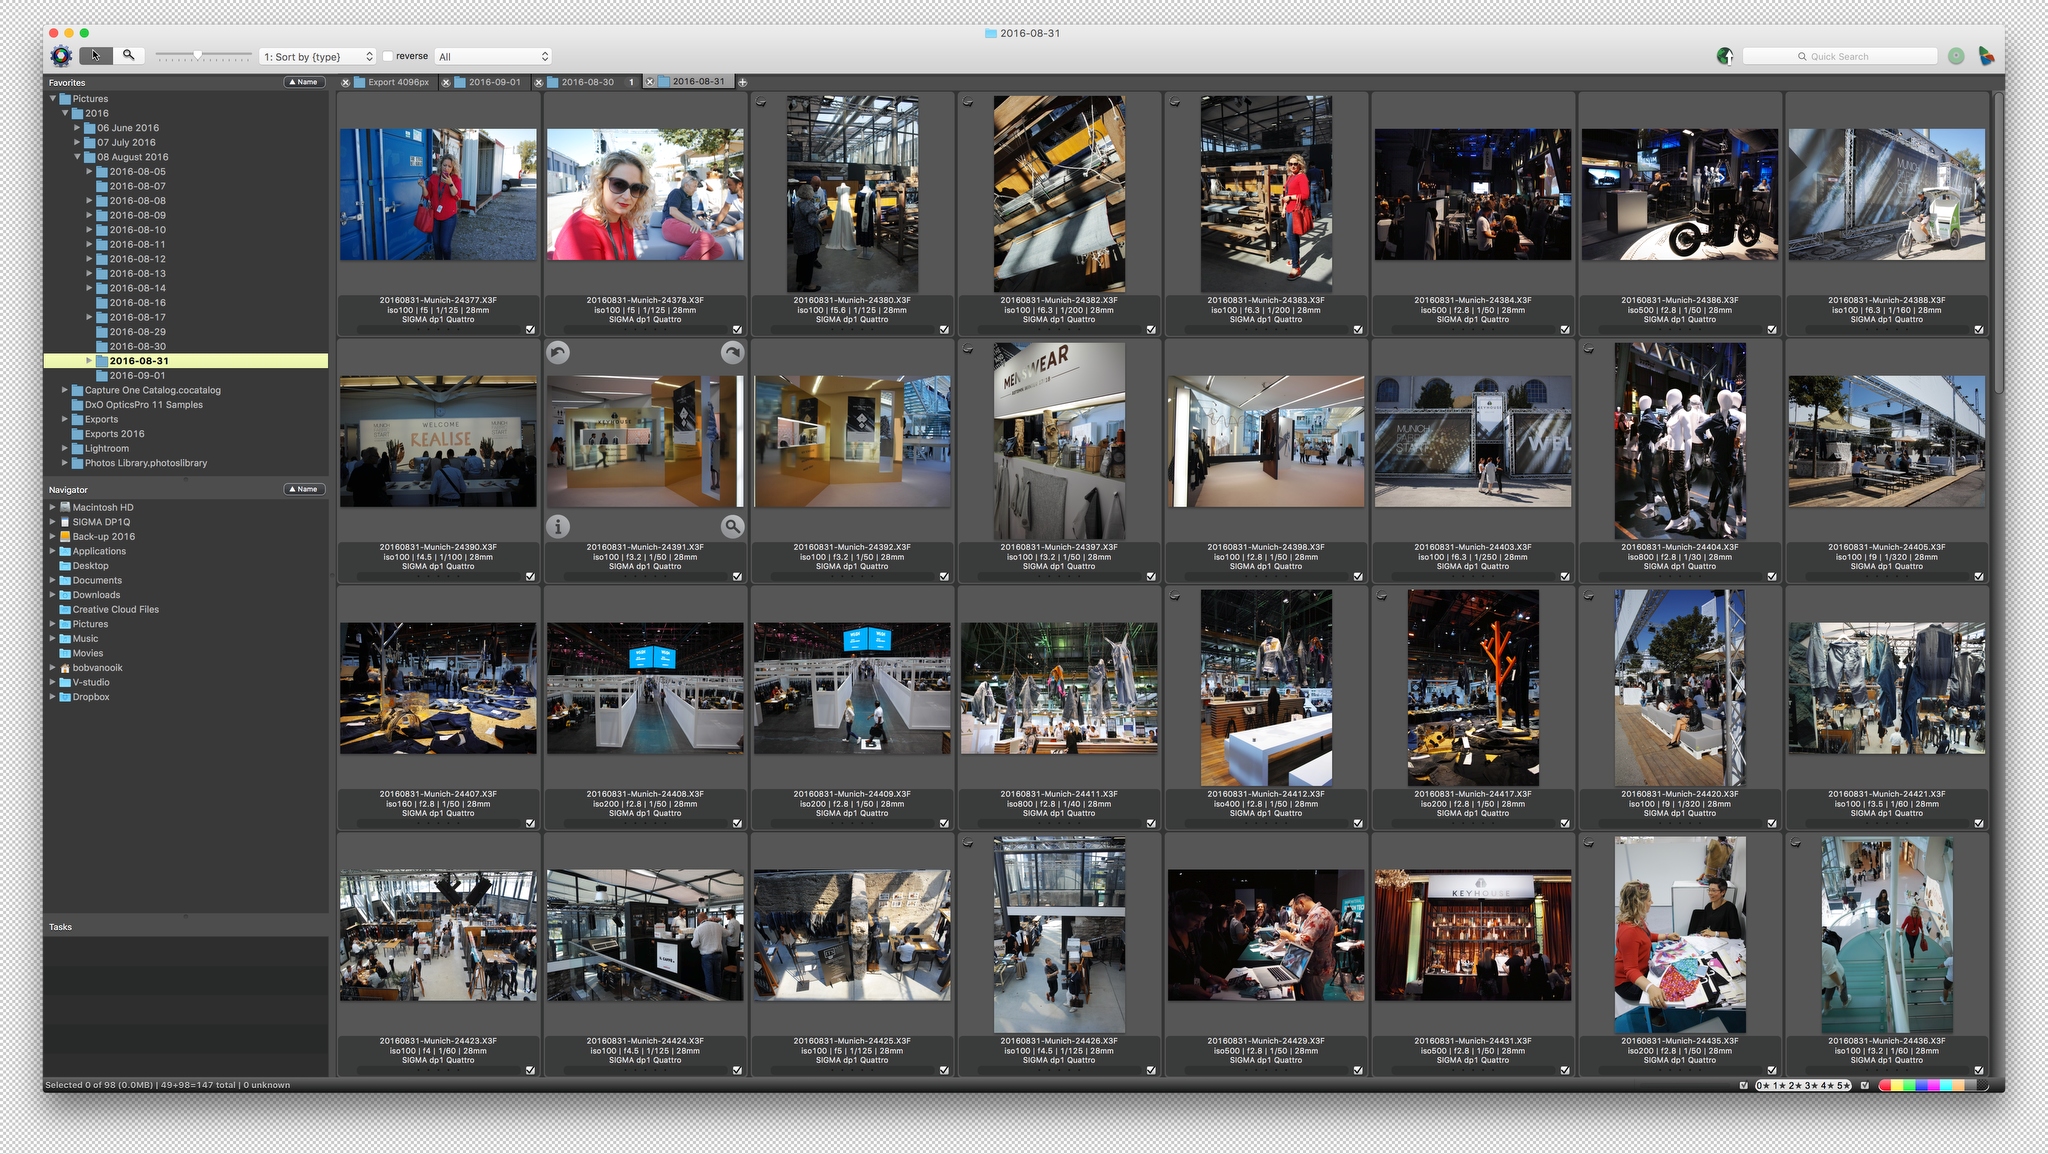
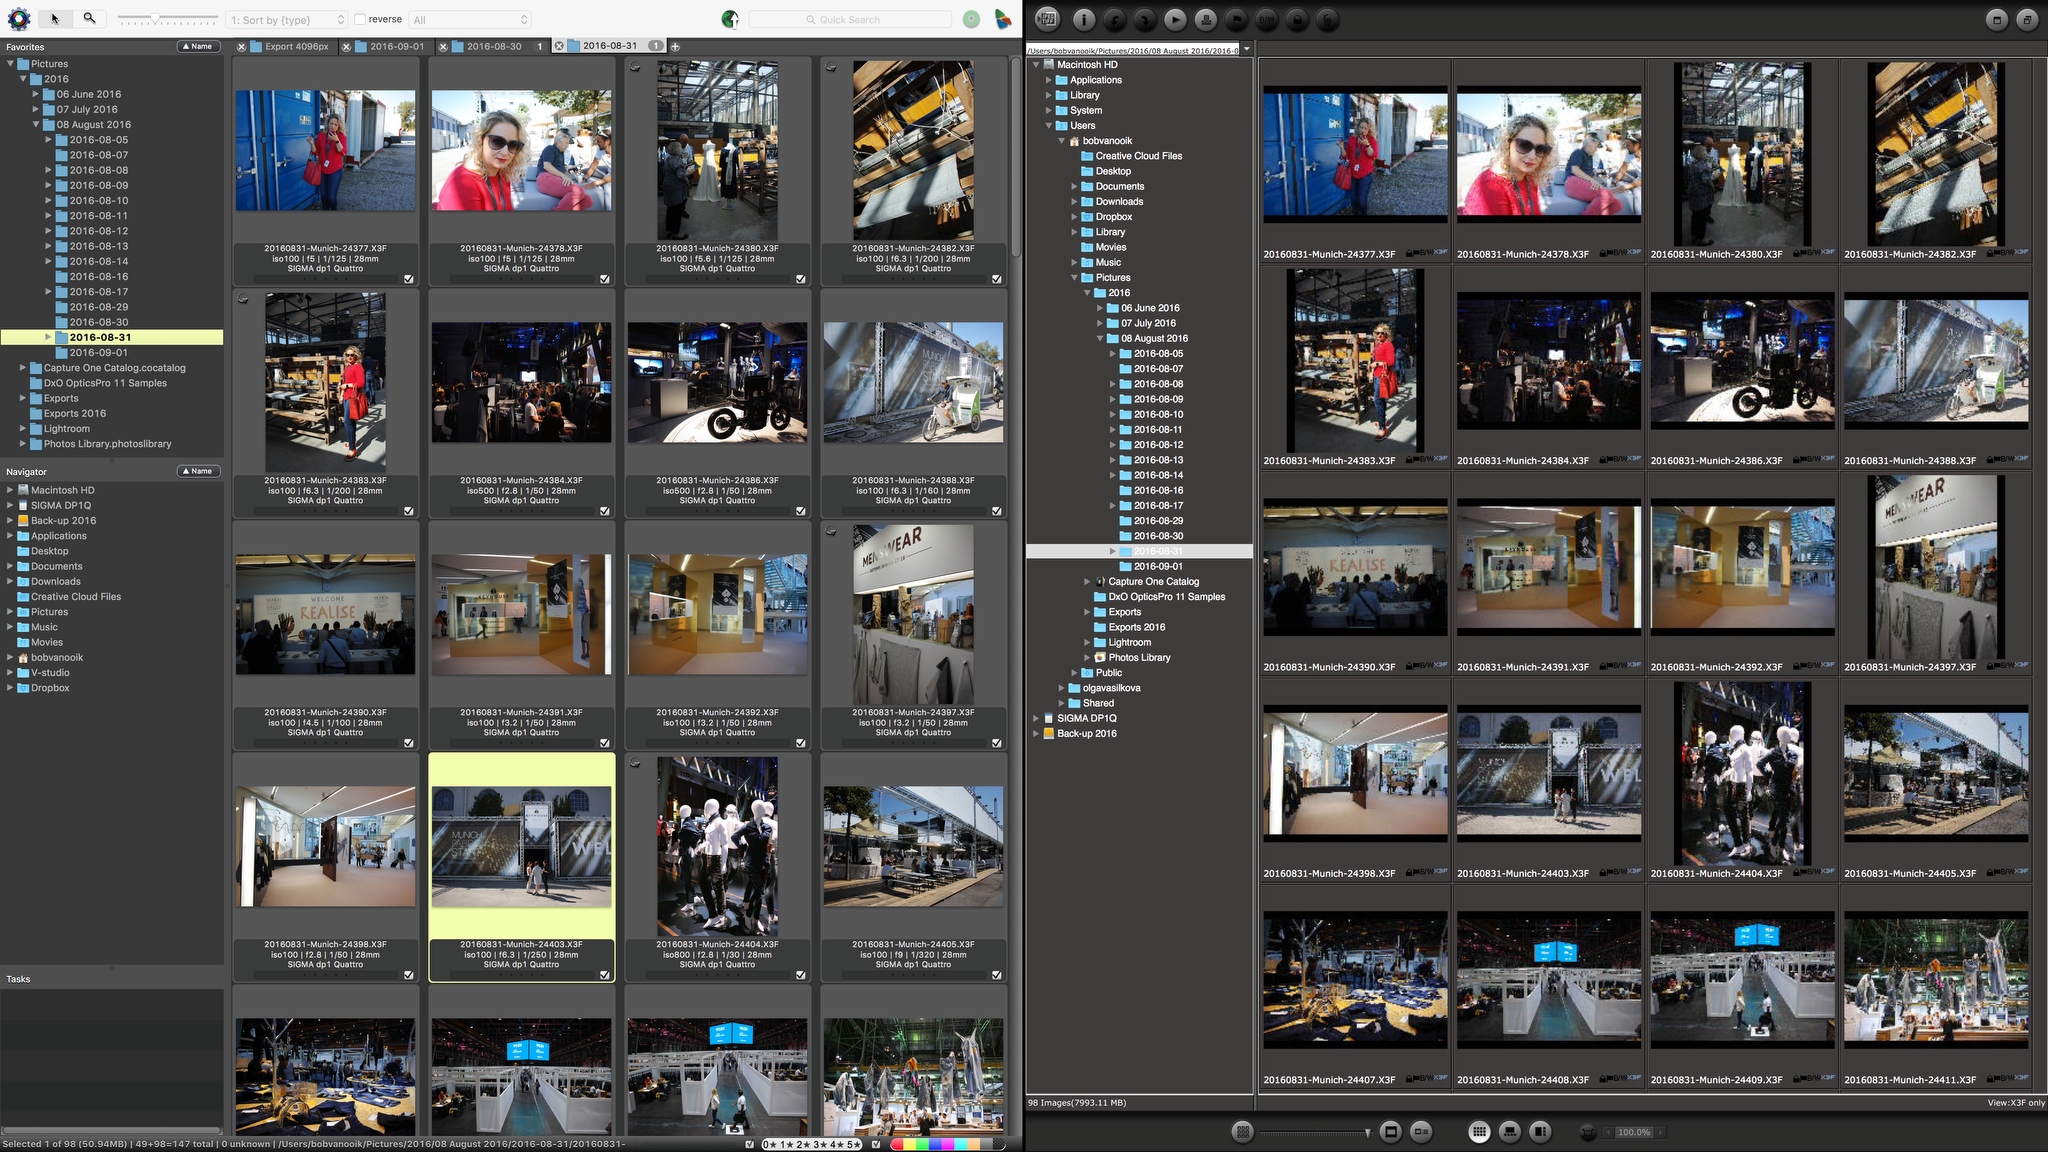
For this step I use Camera Bits’ Photo Mechanic. This software is used by many sports and news photographers because of it’s very fast reviewing capabilities. Fortunately this software is able to read the RAW files of the dp Quattro cameras, it uses the embedded JPG for fast reviewing. Using rules that you can set up within Photo Mechanic the X3Fs are imported in date based folders. I also let the software change the filenames automatically. Other possibilities are to automatically make an immediate back-up and to add IPTC metadata.
I use the tagging possibilities to quickly make a selection of files that I want to process. You can quickly zoom in to see if everything is in focus or not. This all works incredibly fast and smooth. Of course other methods are available to you to make your selection, for instance using ratings and or color labels. After making my selection I move the other files suit of the folder. Often to a subfolder called ‘no processing’. If the selection is final you can of course also simply delete those files.
Step 2: Sigma Photo Pro batching
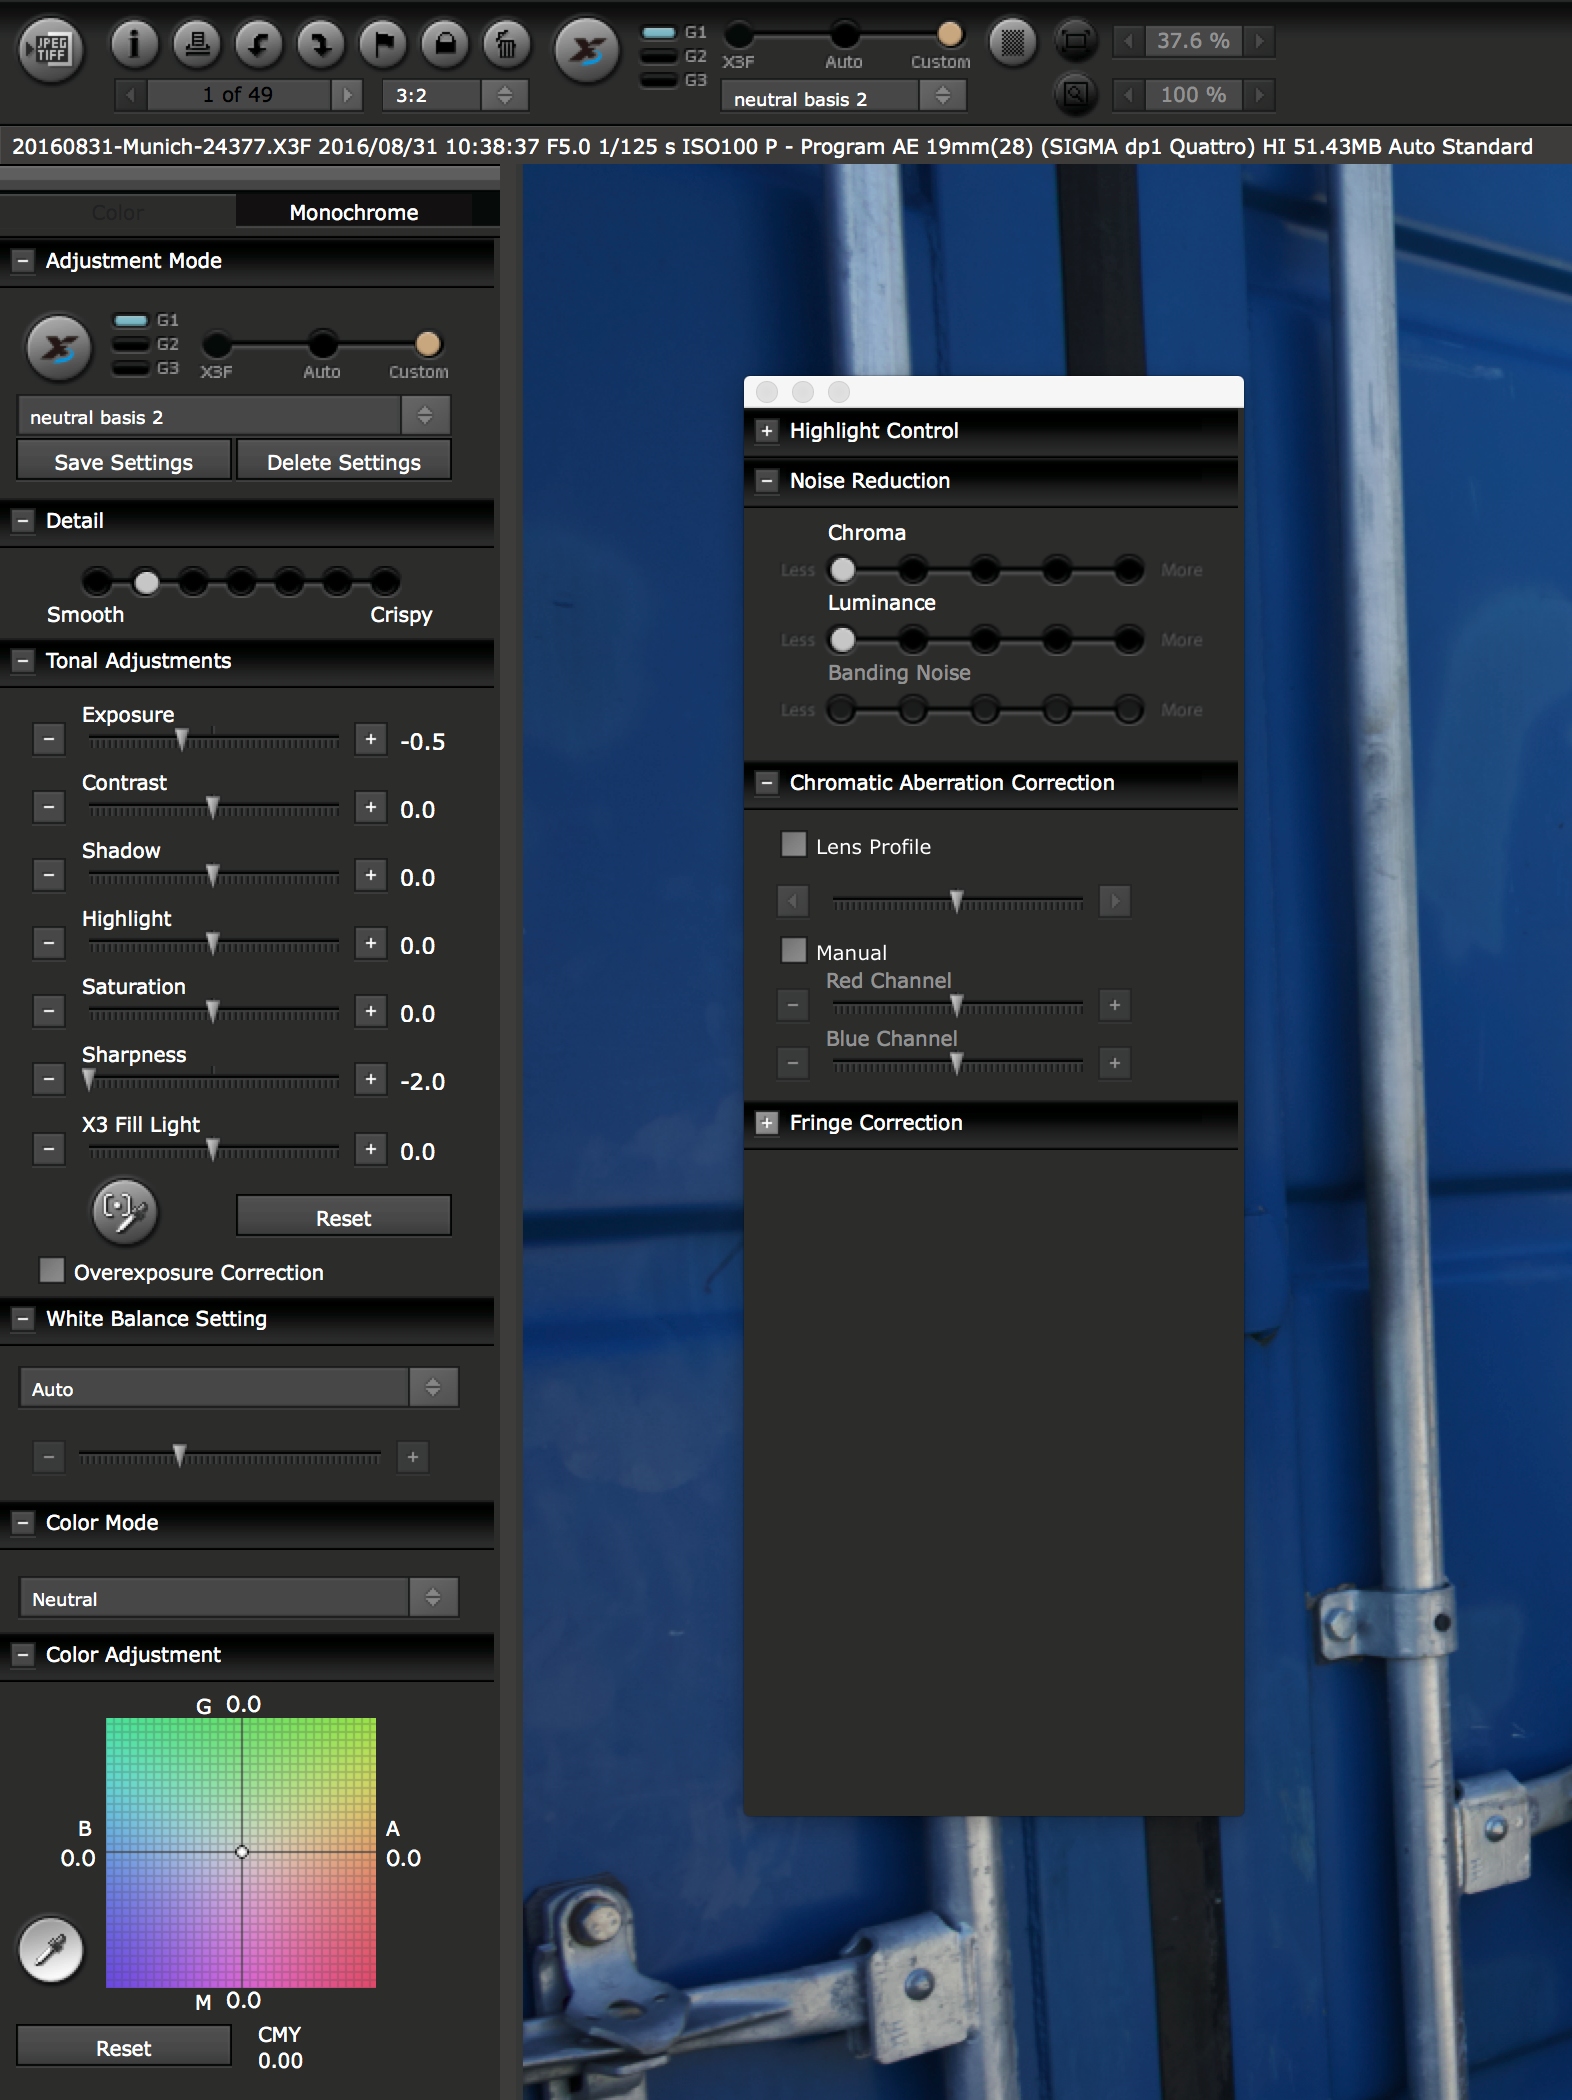
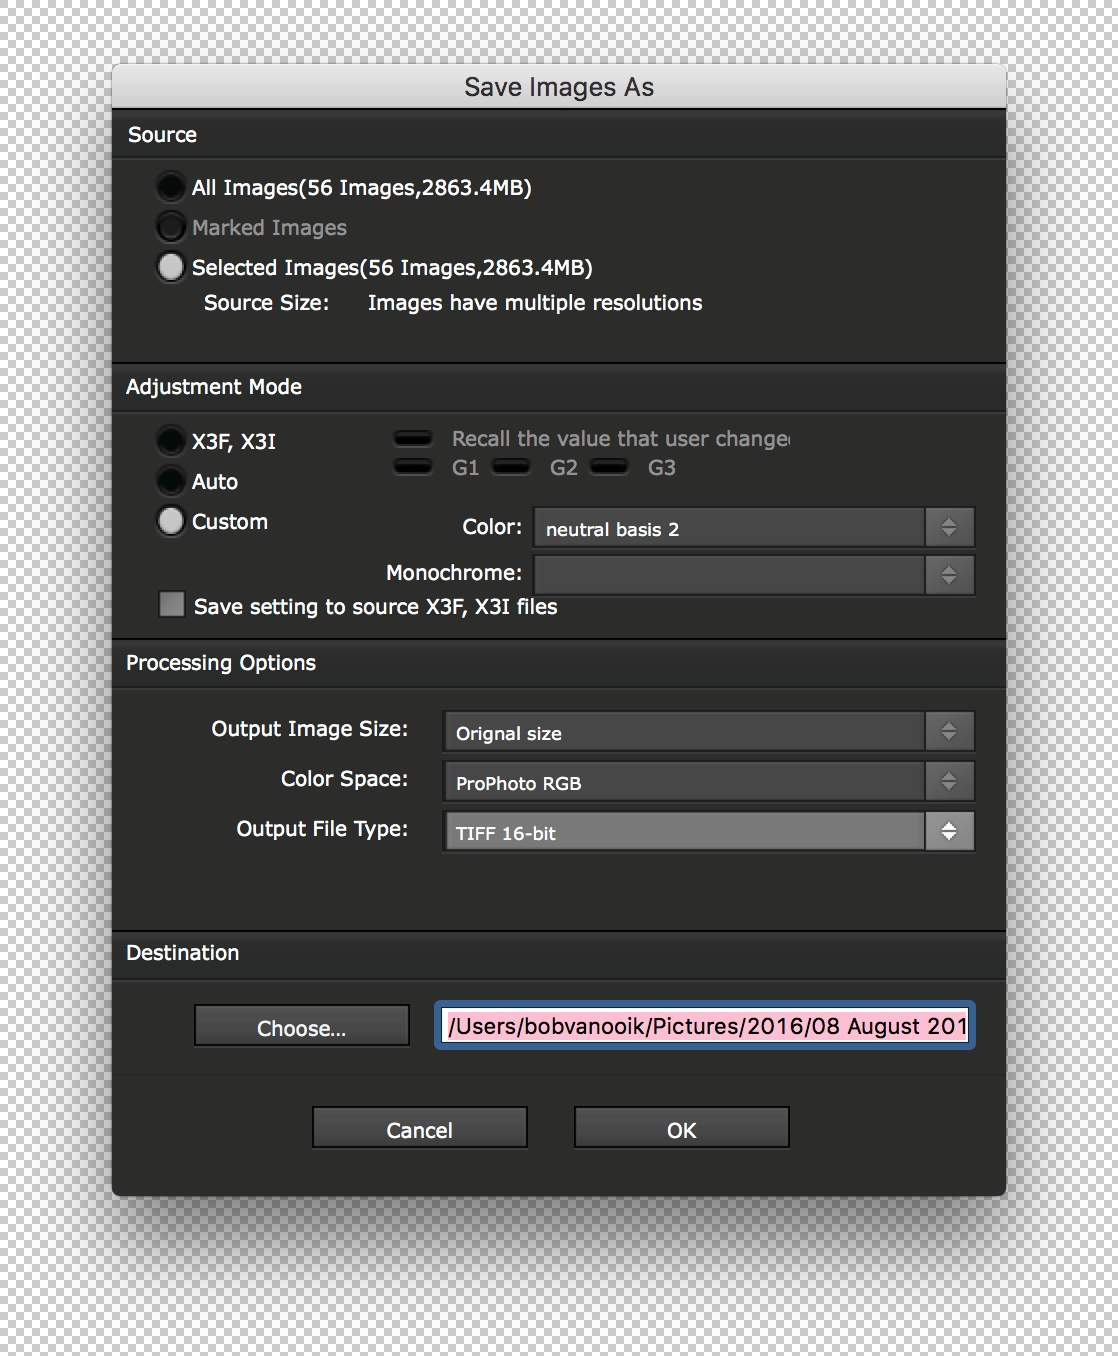
The folder with my selection I then open in Sigma Photo Pro. Simply select all and batch process them to a 16-bit TIFF file in ProphotoRGB. My settings for this is are a the neutral color mode. Noise reduction to the minimum. Exposure on -0.5 to preserve highlight detail. And sharpness to -2.0. In other words trying to have as little as possible processing done within Sigma Photo Pro. In 90% of my photos I leave WB on auto but here it might make sense to choose another preset as the basic rendering is different based on the white balance chosen. See also: https://x3magazine.com/2013/02/not-all-white-balances-are-created-equal/
Step 3: Drink a cup of coffee.
Black, no sugar.
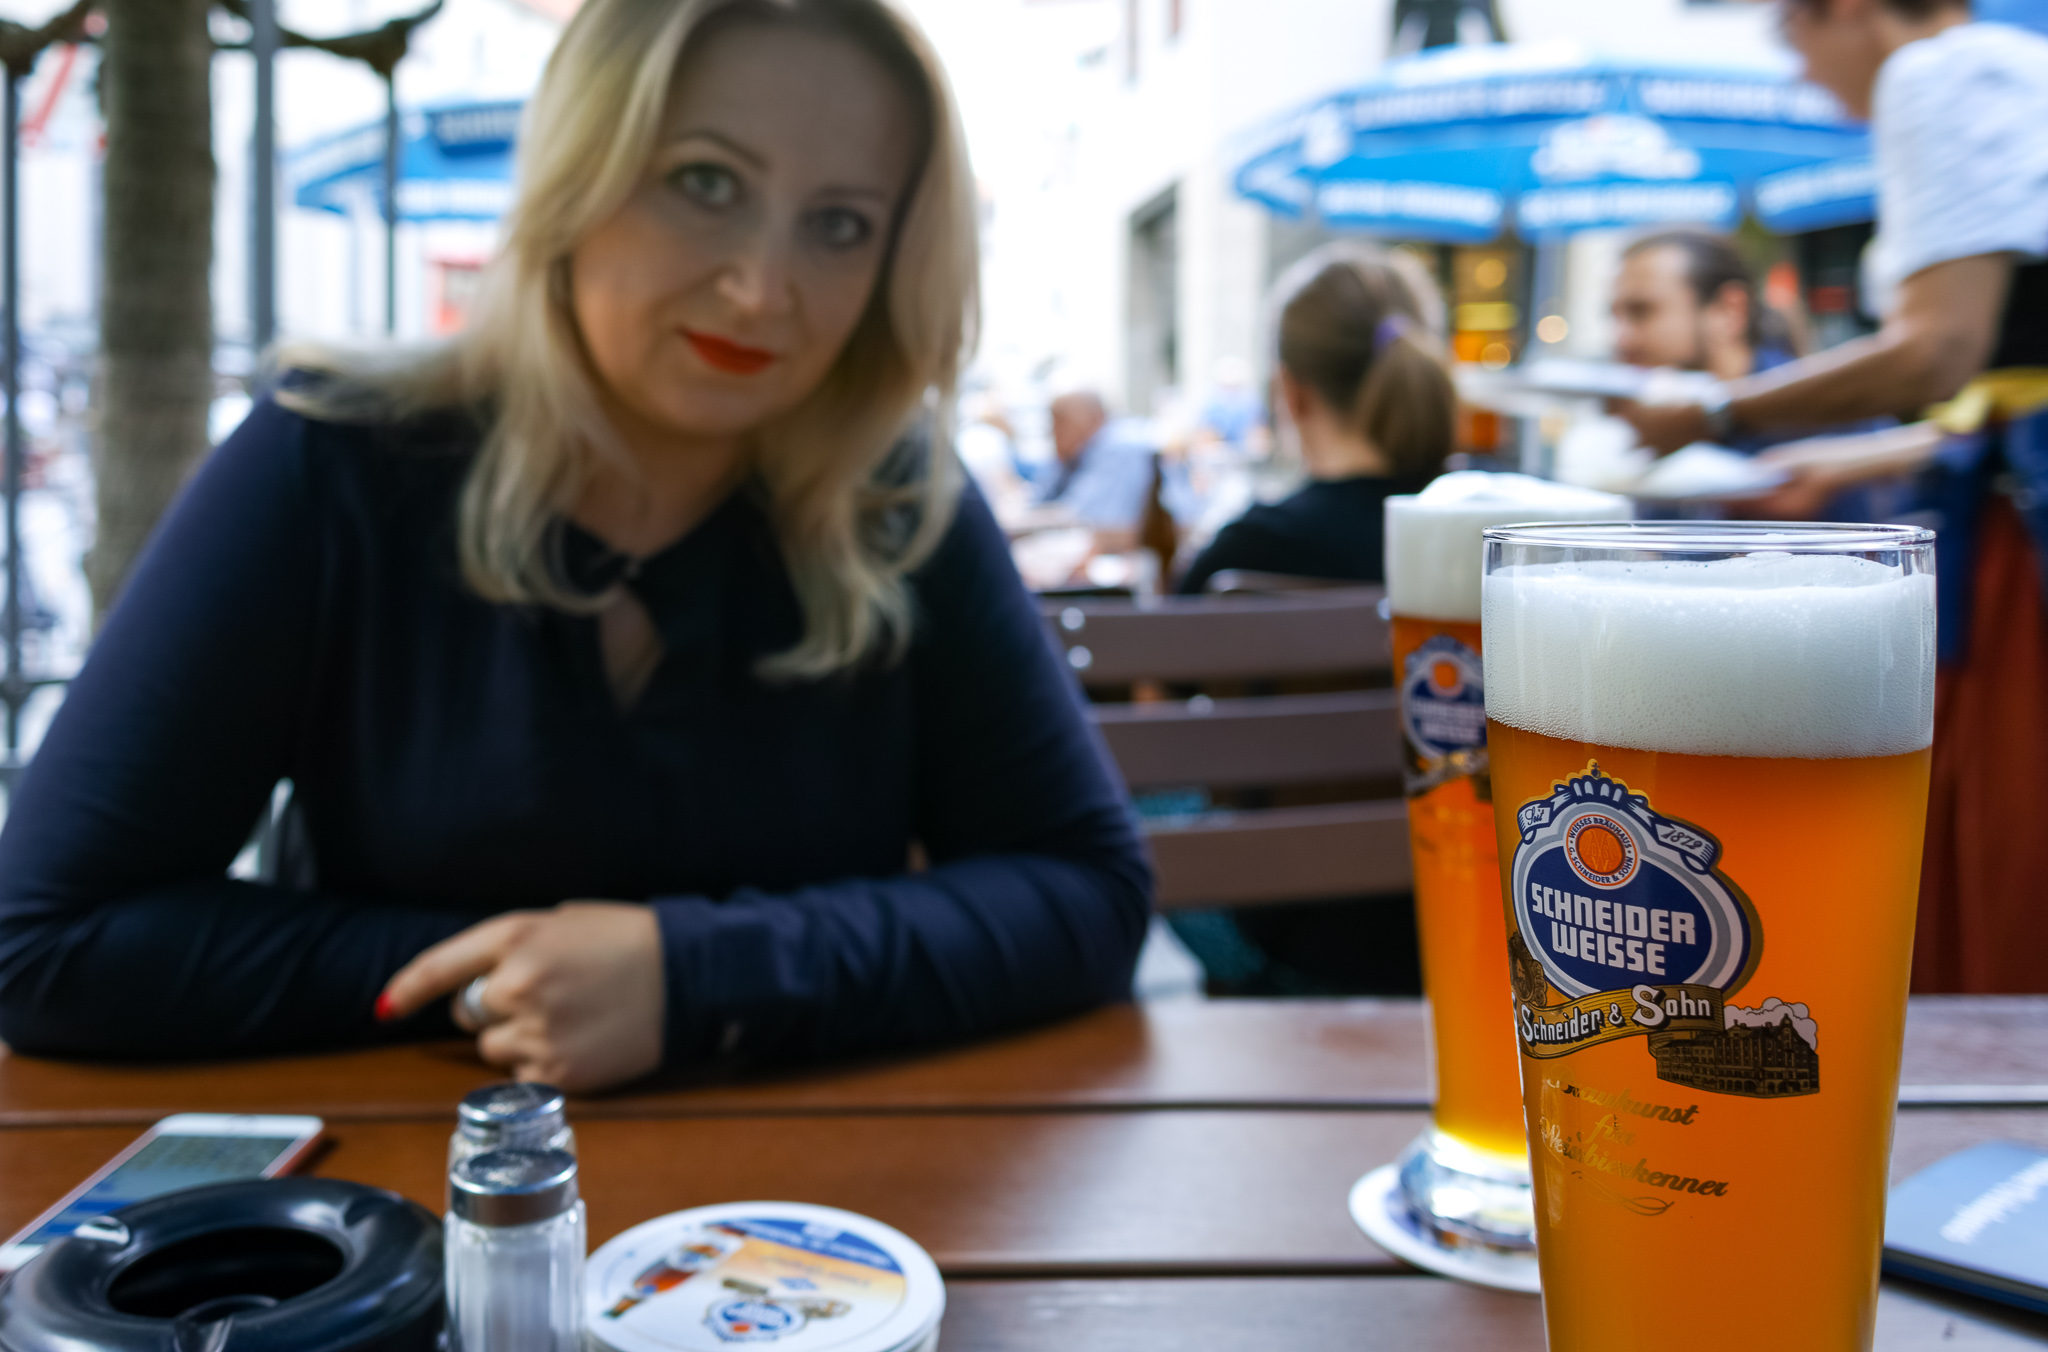
Or a beer 😉
Step 4: Processing in Lightroom
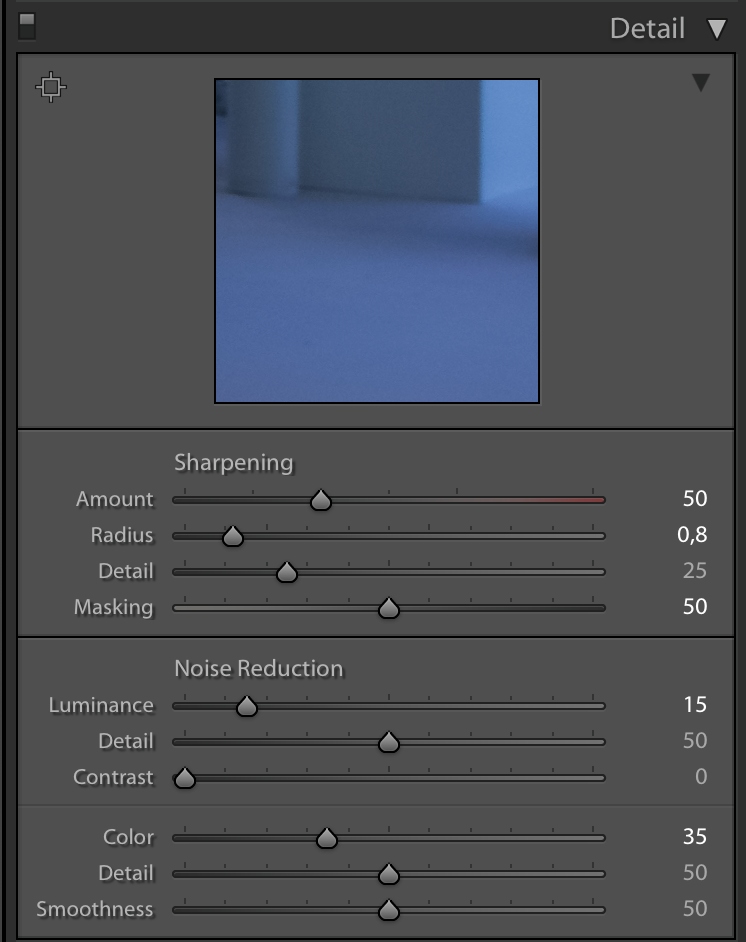
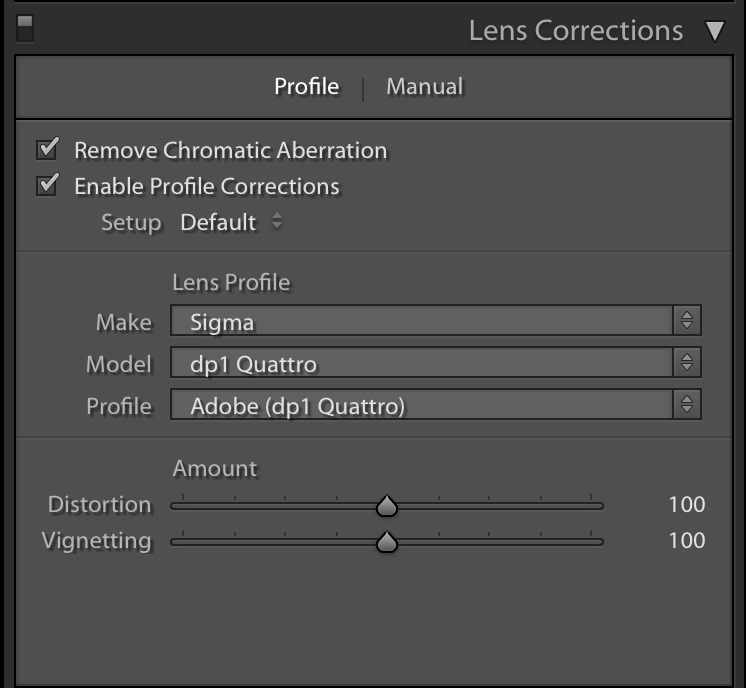
In the last step all TIFF files are imported in Adobe Photoshop Lightroom. Upon import I apply a preset that handles the basics like sharpening, noise reduction, saturation and curves. Also included is a lens profile, yes Lightroom has lens profiles included for the dp Quattro cameras! Most of the settings are of course my personal preferences and this you can do to taste. For instance I like a well saturated photo so I add a lot of saturation and therefore a little extra color noise reduction. But most important to me is the use of a modified Curve as I find the basic curve from X3F files are lacking in midtones. If you would like to try the settings yourself you can just use my setting by using this preset: Basis quattro.lrtemplate. I also use Lightroom to export the end result for different types of media.


Optional Step 5: Reprocess the TIFF
Sometimes when doing such batch processing a file or two may not be as good as it could be. In that case I simply reprocess the file in SPP. Most of the time that means a change in White Balance or exposure.
Why do I do this?
There are two components to the answer to that. First and foremost, it is a lot faster (for me)! Even though the workflow now involves three pieces of software, each component is used for it’s own strength. Importing, sorting and rating is super fast in Photo Mechanic. This leads to less files that need to go through SPP which is the slowest component of the chain. By batching the files I can bypass the slow operation of Sigma’s software but still use best converter. Lightroom is of course very good at developing. With the tools available there (including lens profiles) and TIFF files that turn out to hold up well under processing, the results are very good. Personally I also prefer the sharpening and noise reduction as done by Lightroom better than the way SPP does it. The same goes for the tone curve which I can manipulate to taste in Lightroom. But most of all, it saves sooooo much time 🙂
I use Iridient Developer and RawTherapee to develop the raw files and manage my collection with PhaseOne Media Pro.
I really don’t think you an get Iridient to open a raw file from a DP series Quattro camera, which this article is all about. I’ve tried.
My fault. I meant I use it with the Merrills.
So in a way the same way 😉 My problem with Iridient was that I always had too much work to get those green and magenta anomalies out.
I get the anomalies when I use old manual lenses and it’s always related with the ammount of light fall off the lens suffer. With modern Sigma Glass it’s extremely rare to have any nocive cast.
When things goes really bad, I use Color Mechanic Pro from Digital Light and Color, an unbeatable tool for color correction. Too bad it’s just for Windows, but I have a Win7 virtual machine on my mac and I can live with this. CMP is a plugin. IF you like, you can try it. http://www.dl-c.com/site/products/buy-cm.php
To be honest Sigma has a looong way to make SPP a really good software. It lacks some very basic controls, like curves and multi point color correction.
I use a similar workflow starting with Photo Mechanic and switch between SPP and Iridient Developer ( Merrill X3F’s) I have my SD Quattro ordered; hopefully someday Iridient will support it . Your blog has been a good resource, thanks !
It’s good to know about Photo Mechanic as the only other program I had found that I could quickly review images with was DXO Optics. In reviewing the LR settings though, I’m curious why you increase saturation and don’t use Vibrance instead?